Getting Started
Follow these simple steps to configure Ridelytics and learn how to interpret its powerful signals.
Welcome to Ridelytics
Start by launching the application. You will be greeted by the Welcome Screen.
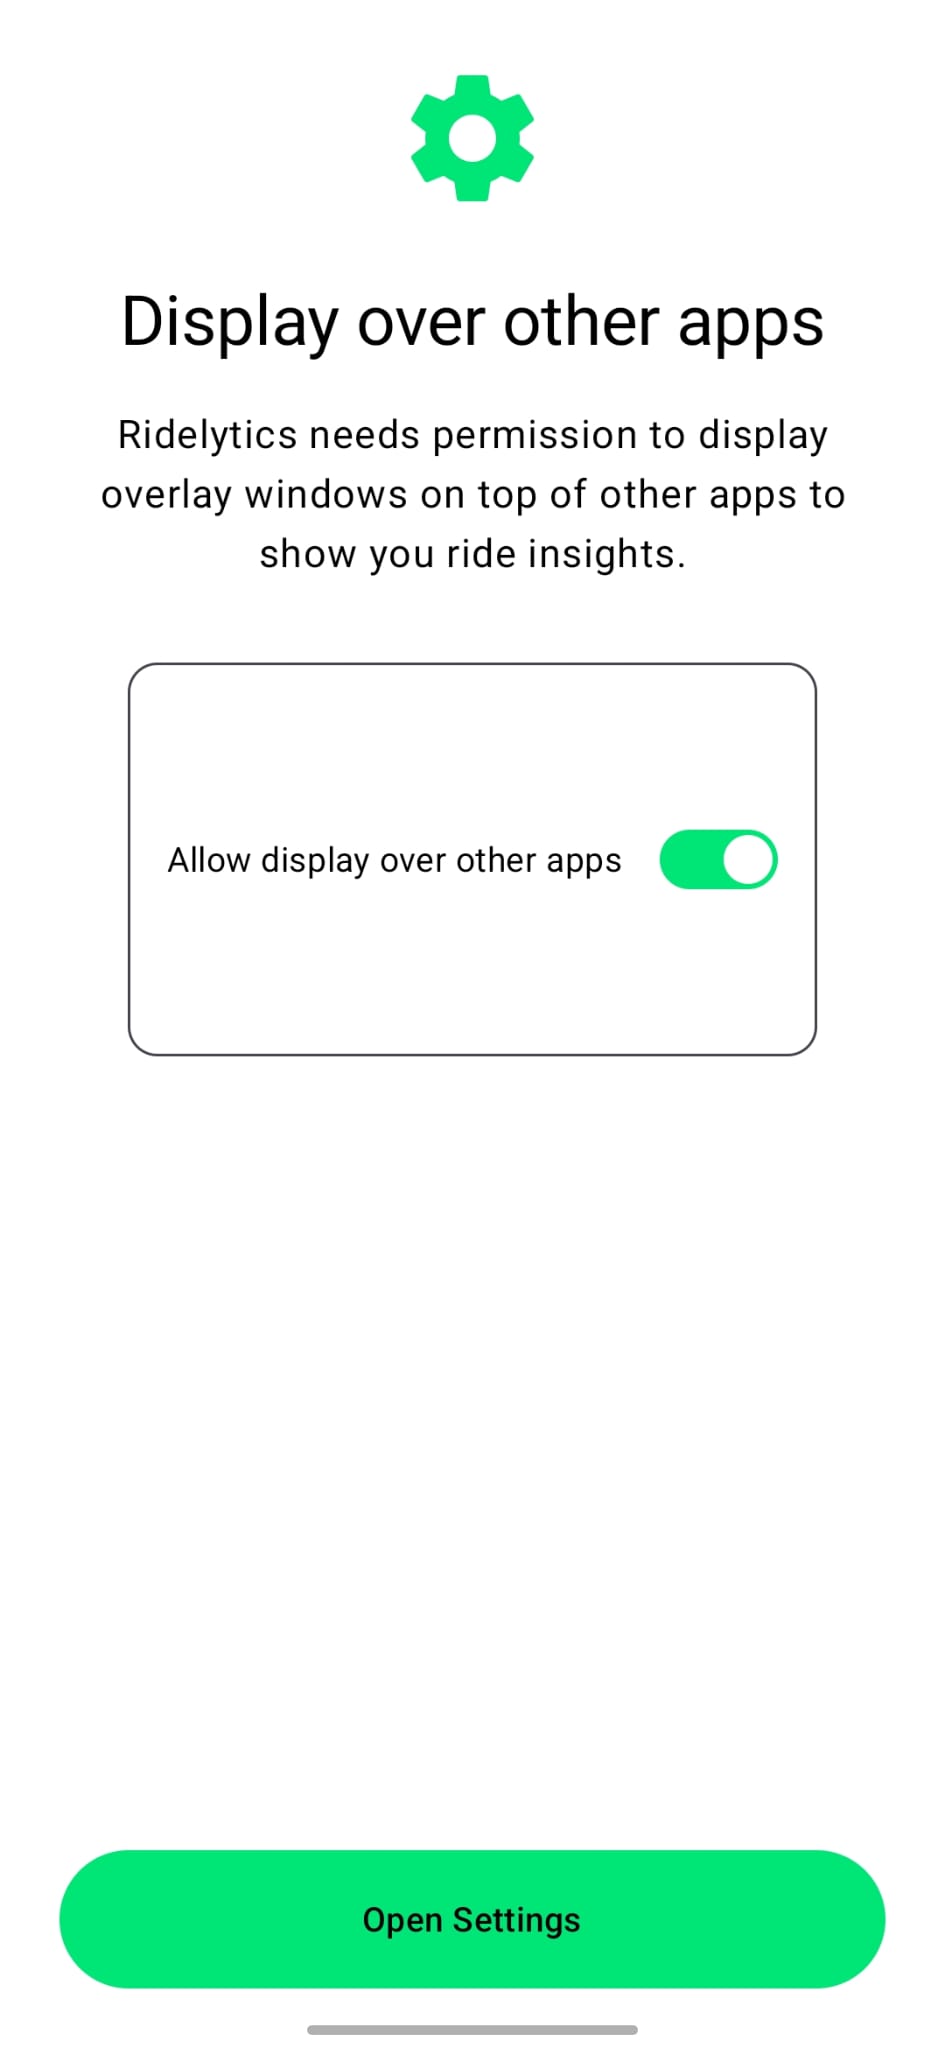
Overlay Permission Request
You will see a prompt to let you know that you need to allow Ridelytics to display on top of other apps.
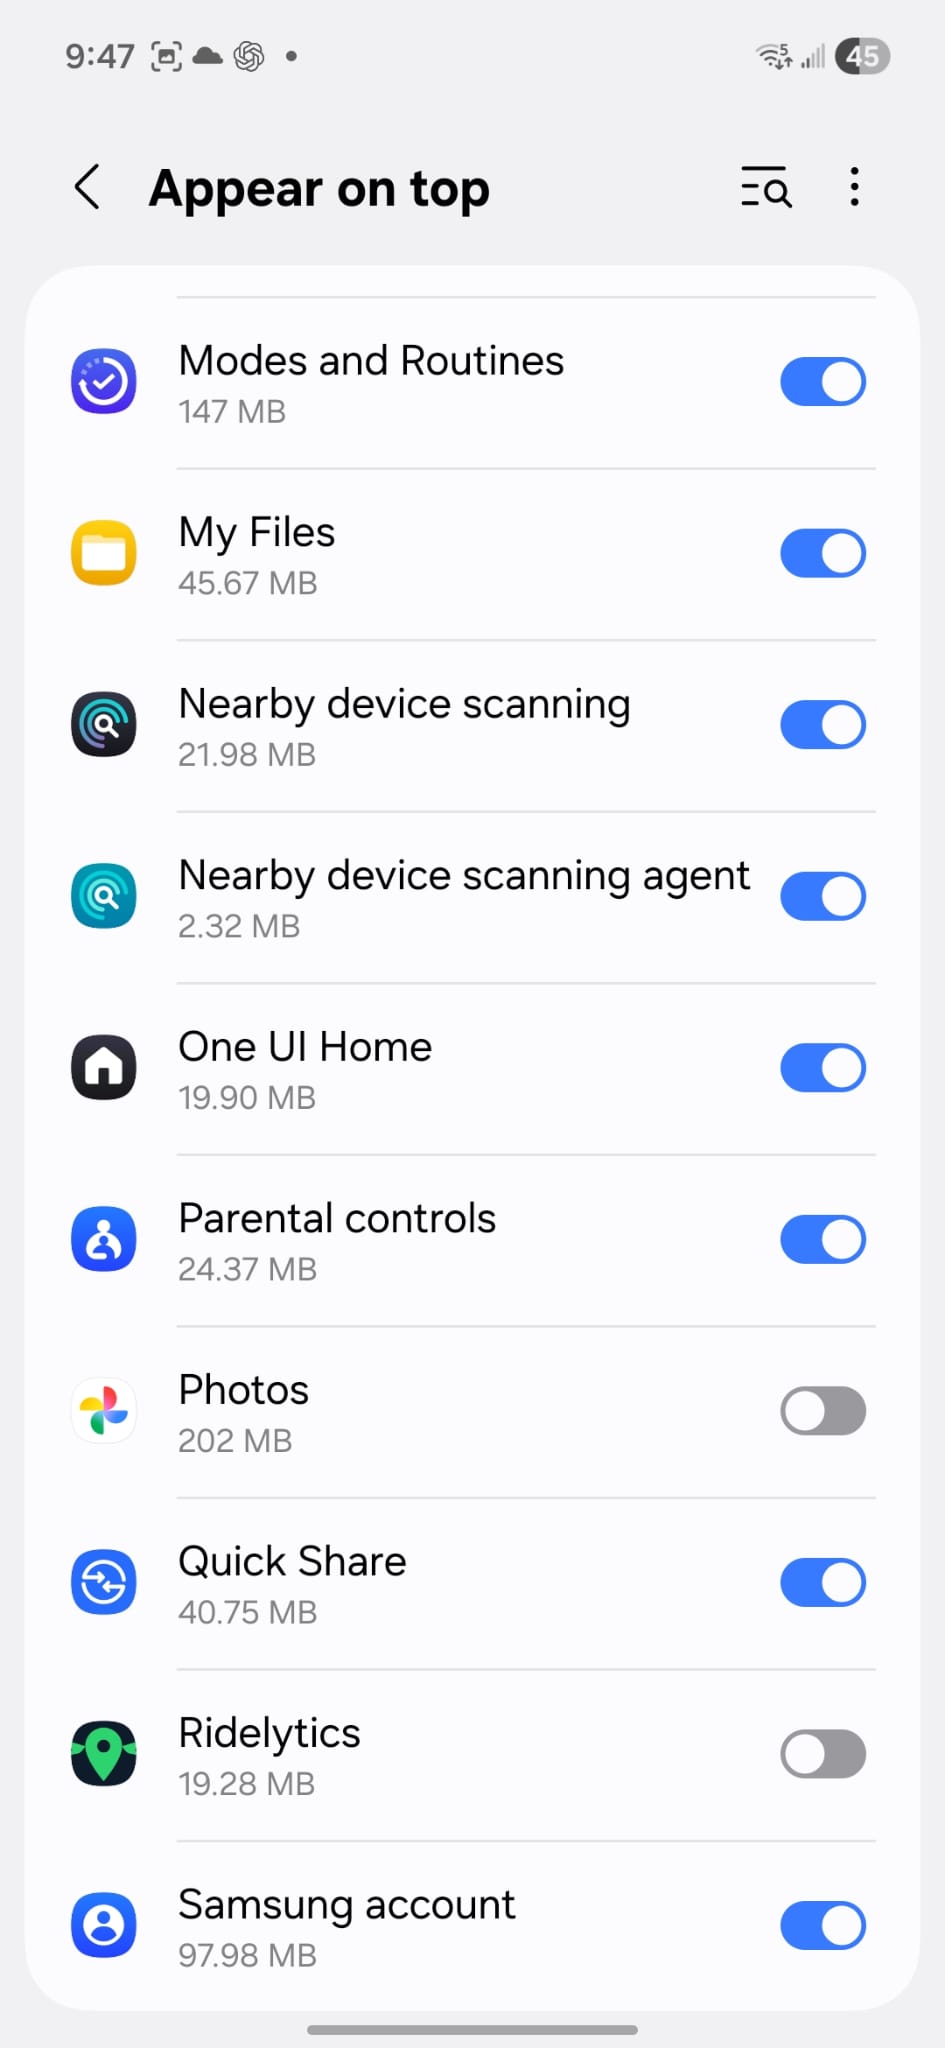
Enable Display Over Other Apps
Upon pressing "Open Settings", the "Appear on top" screen is displayed. Toggle Ridelytics to enabled.
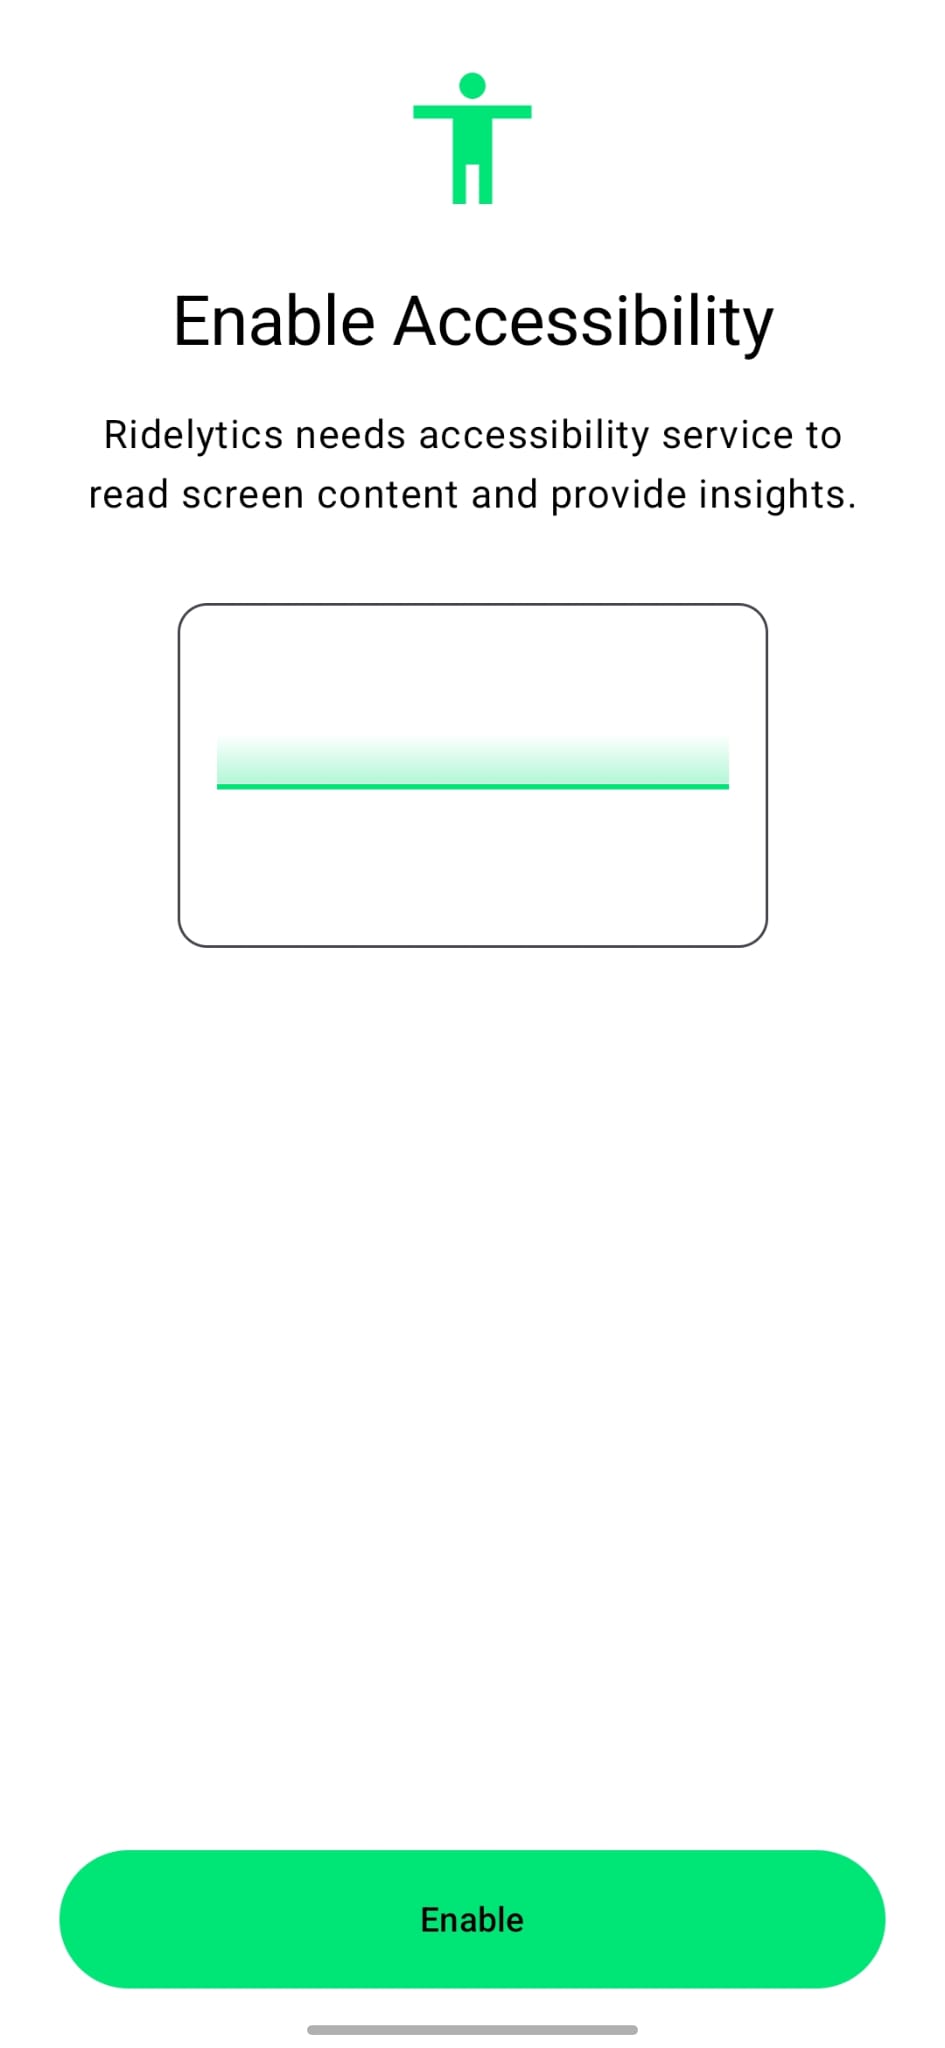
Accessibility Permission Request
Once "Appear on top" is toggled, navigate back. You will be informed to enable accessibility.
Accessibility Settings
Upon pressing "Enable", you are navigated to Accessibility settings. Look for "Installed apps".
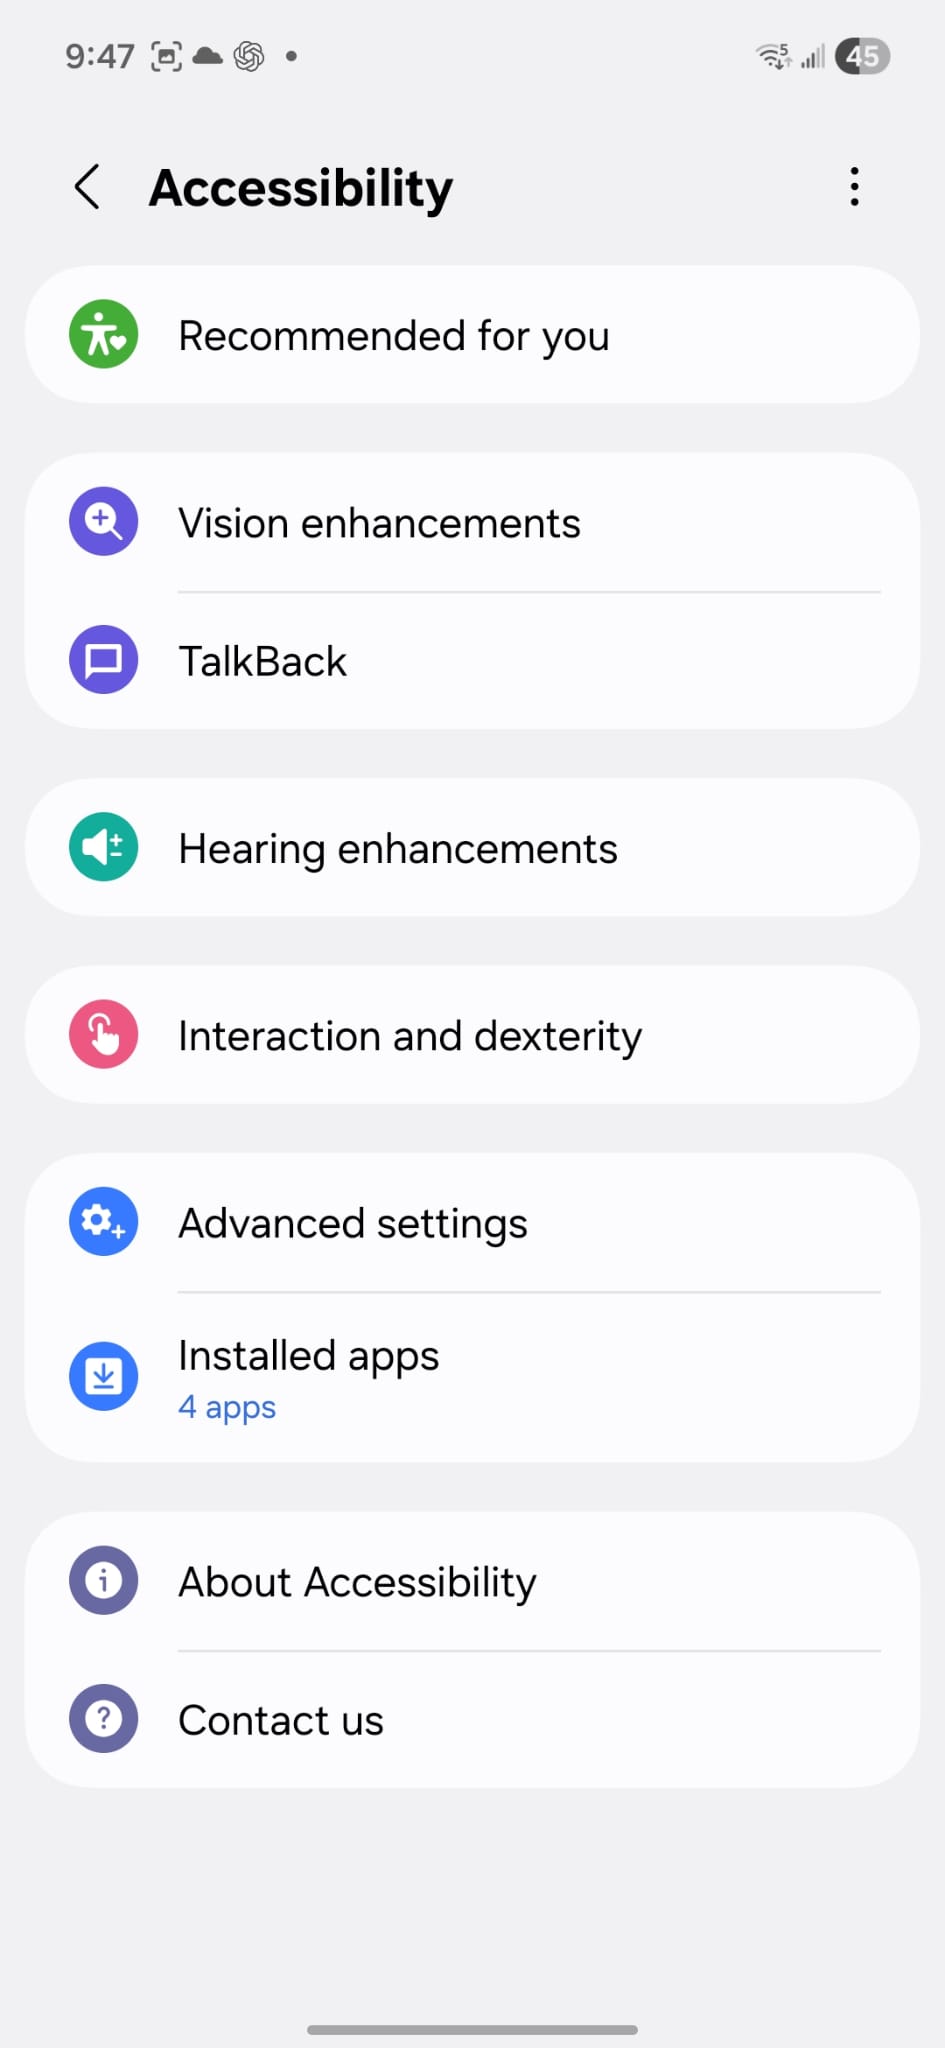
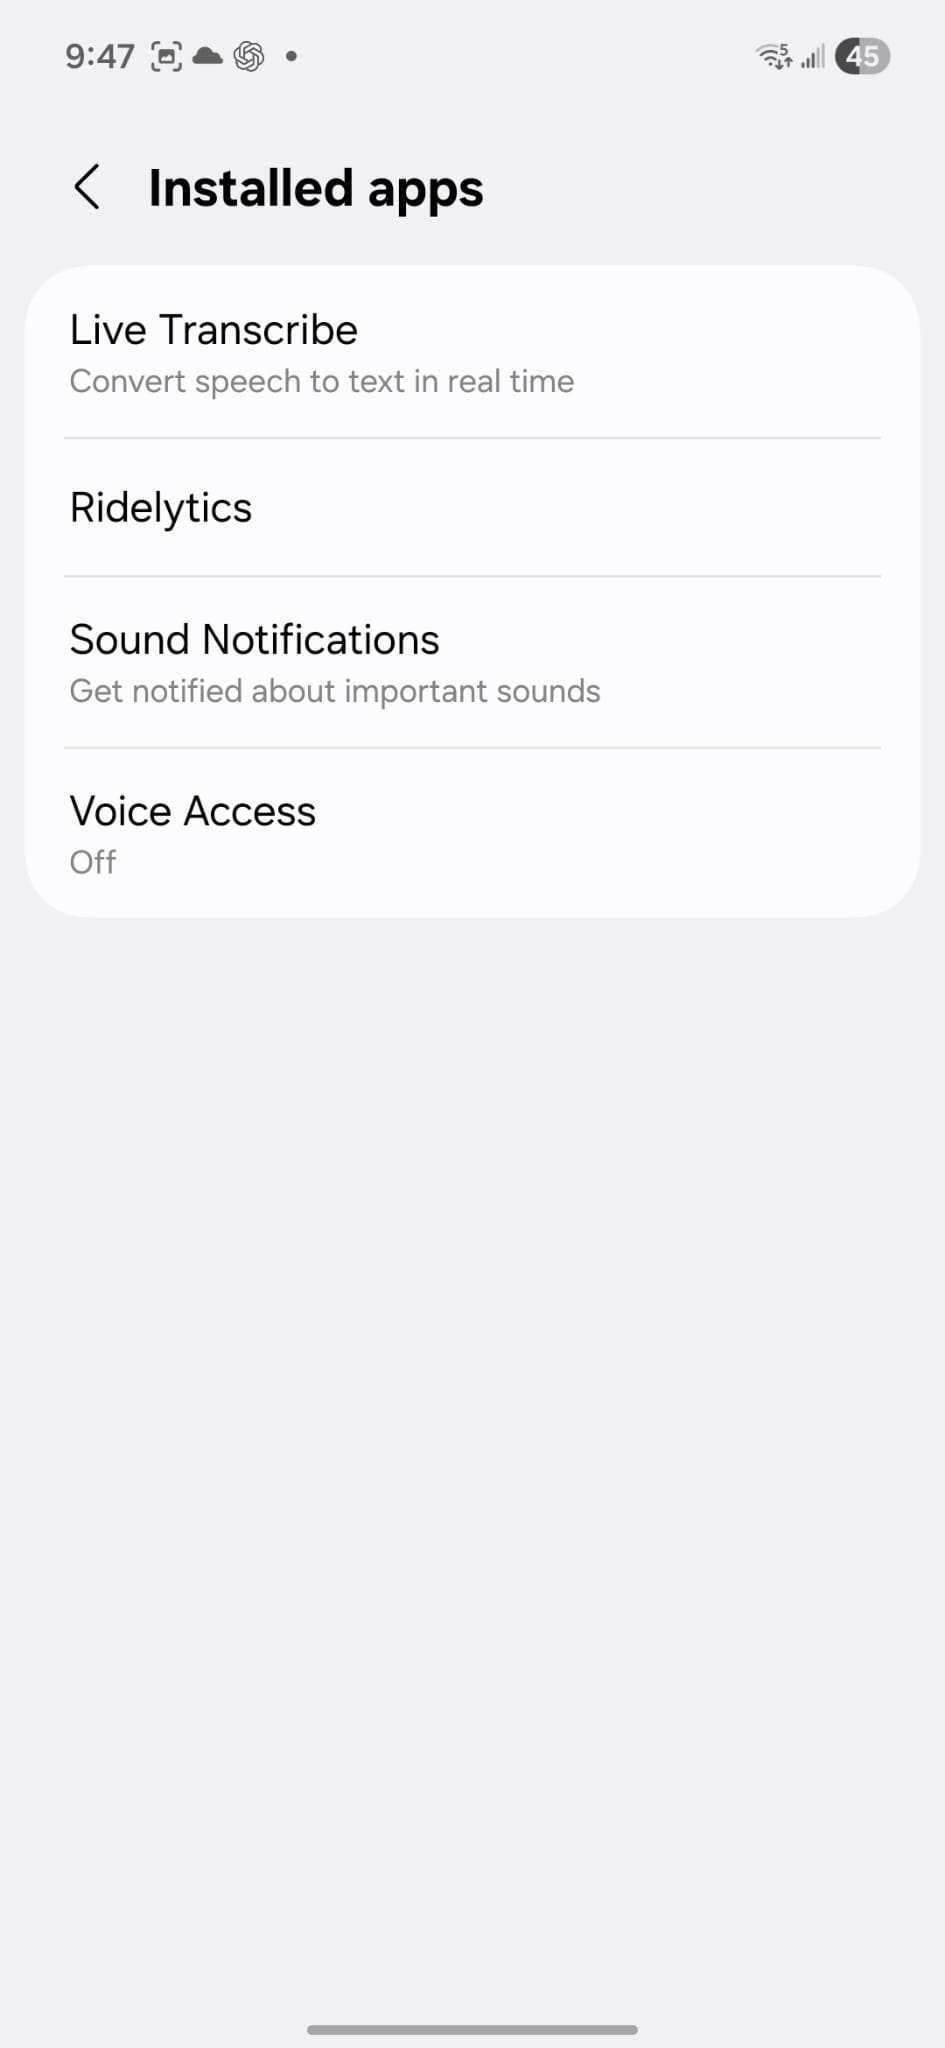
Find Ridelytics
Press "Installed apps" to see the list of apps. Find "Ridelytics" in the list.
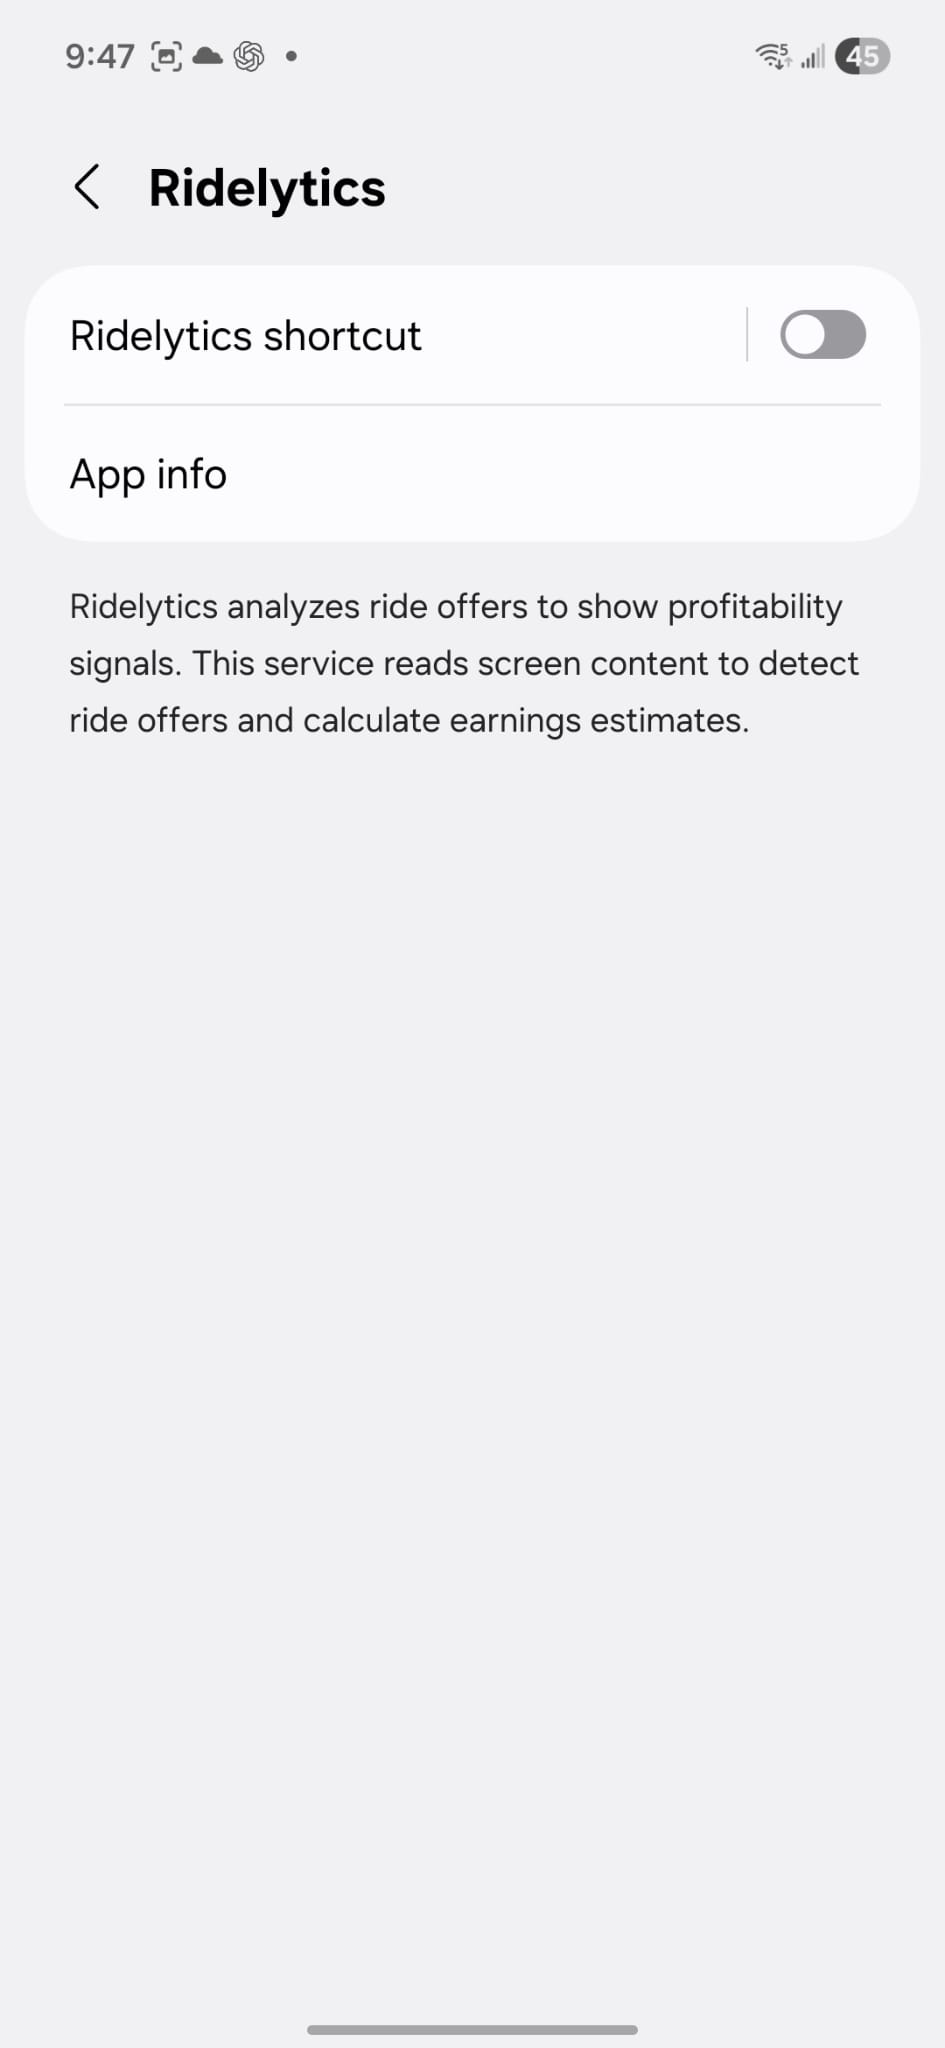
Enable Service
Upon pressing "Ridelytics", you will see the shortcut toggle. Toggle it on.
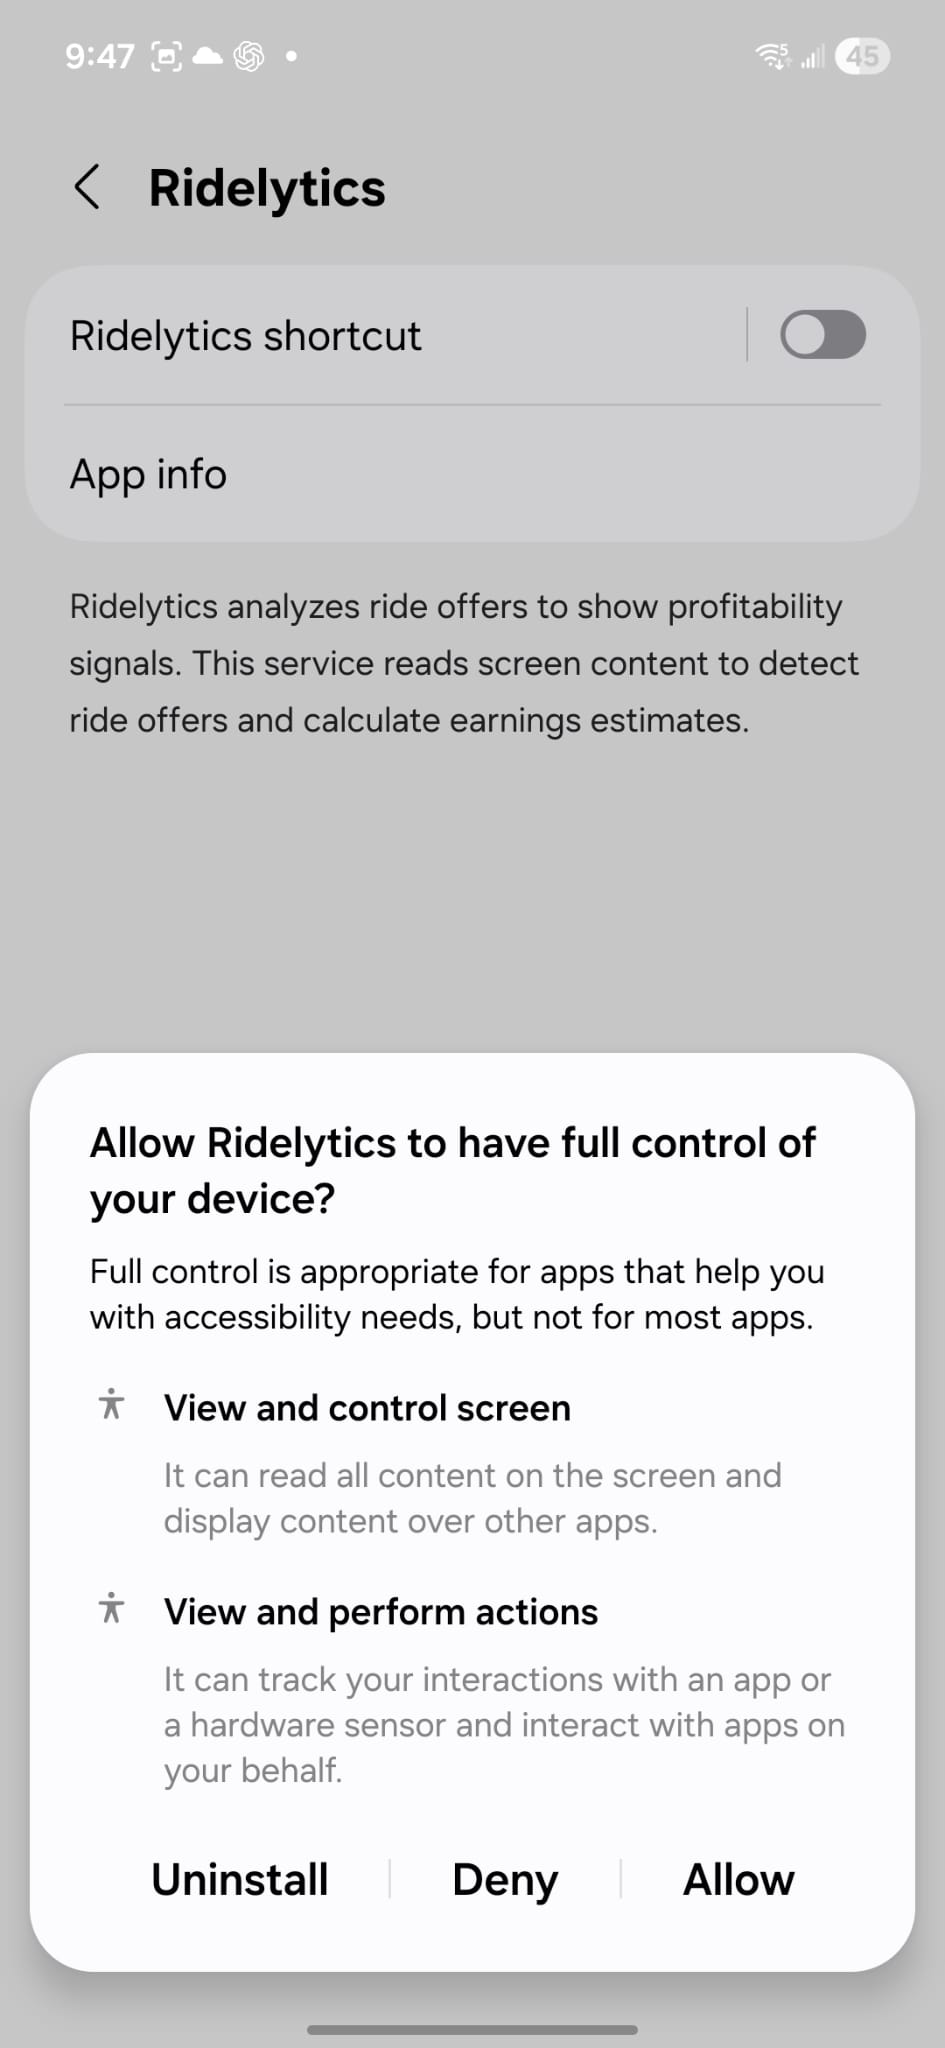
Confirm Permissions
Upon enabling the Ridelytics shortcut toggle, you will be prompted to allow accessibility access.
Ready to Drive
When accessibility is enabled, navigate back to the dashboard. You are now ready to use Ridelytics.

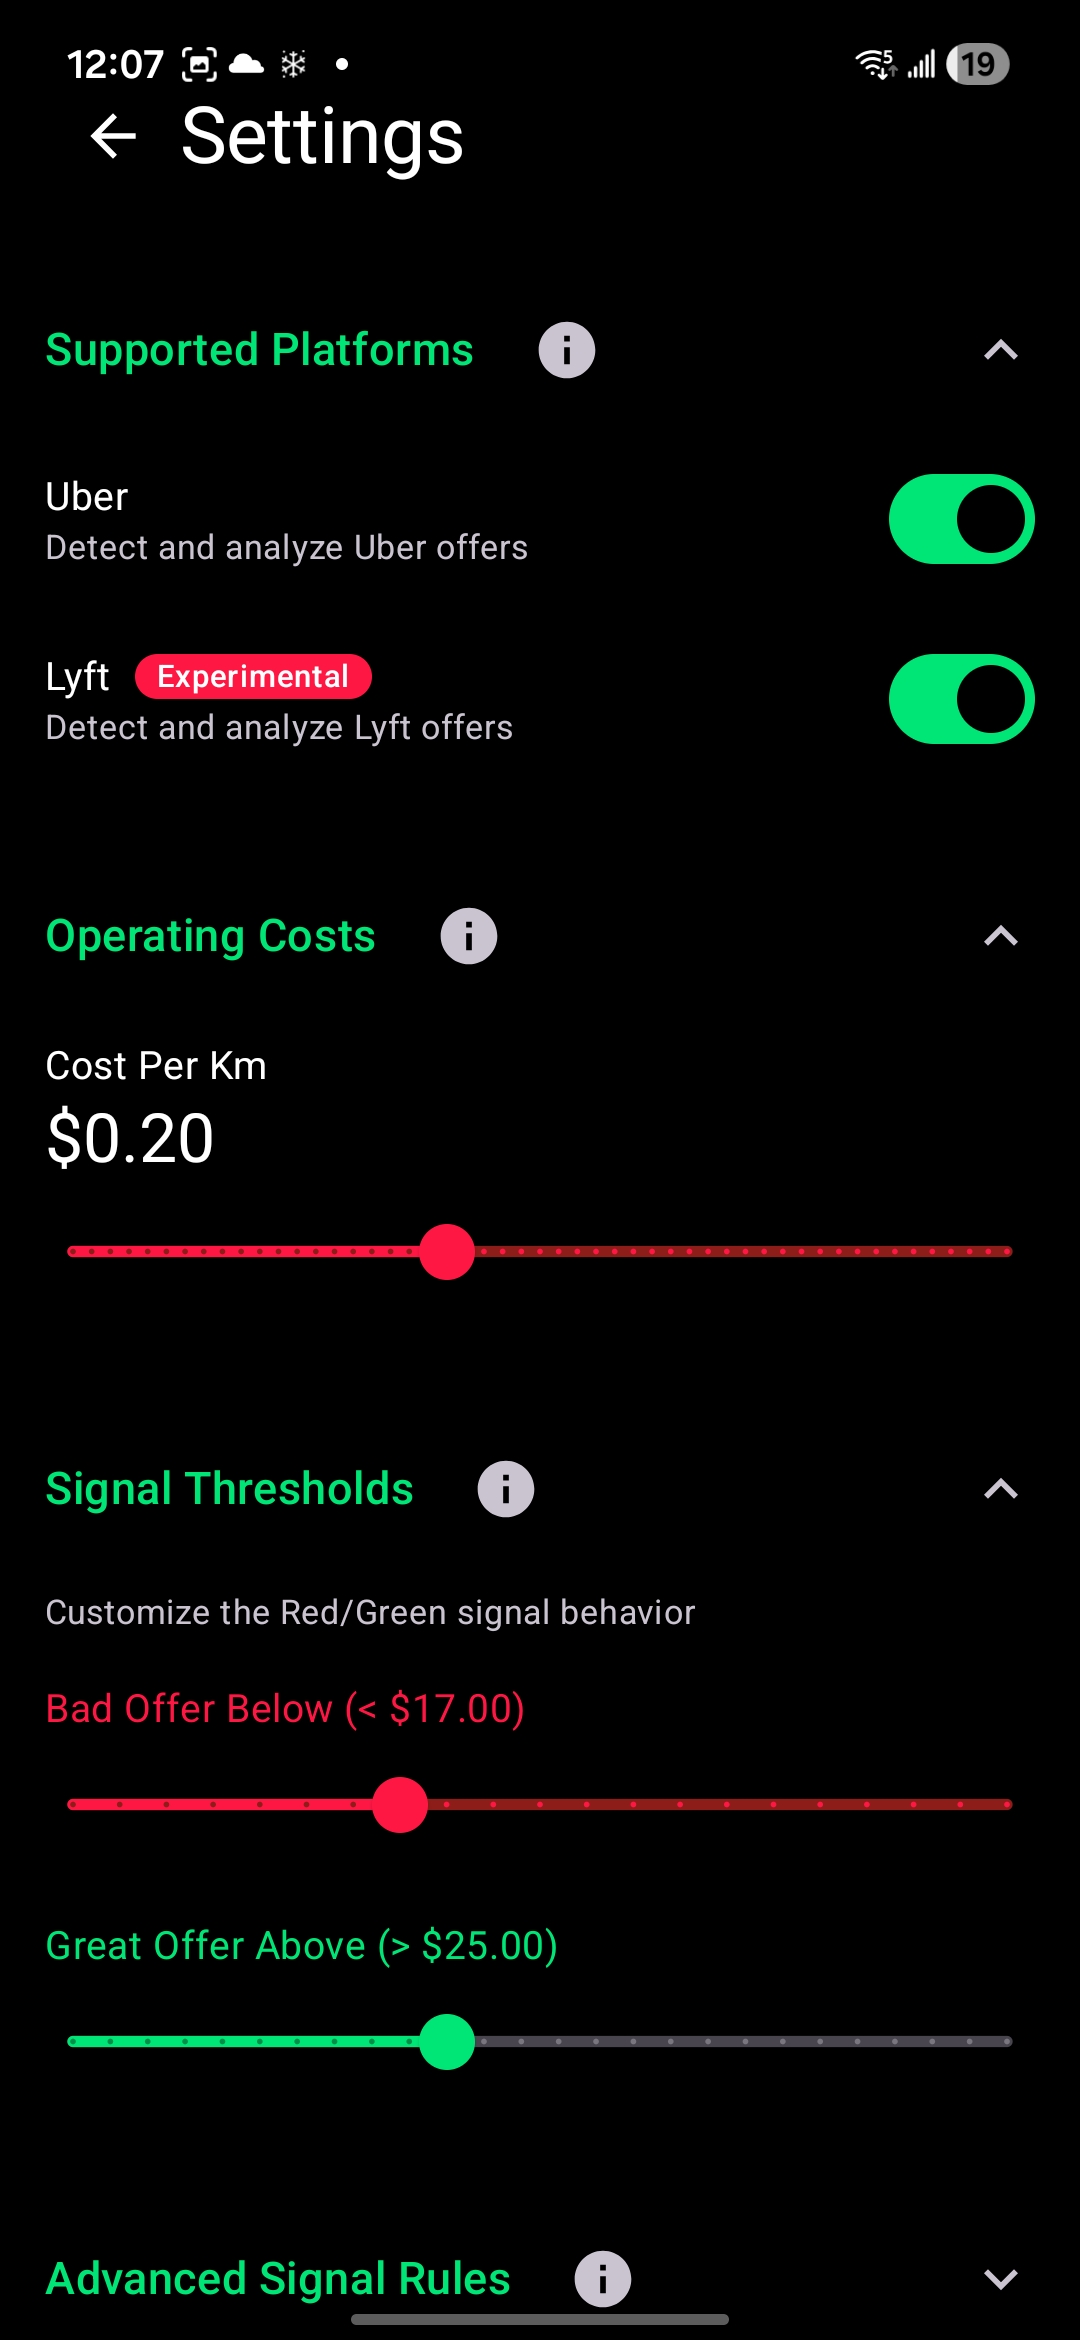
Configure Settings
Customize how Ridelytics rates offers. Tap the "Settings" gear icon to adjust your preferences.
Supported Platforms
Enable or disable offer detection for specific rideshare apps. Lyft support is marked as Experimental.
Operating Costs
Set your Cost Per Km to account for fuel, maintenance, and depreciation. This is used to calculate your net profit.
Signal Thresholds
Ridelytics calculates your Net Hourly Wage (Earnings minus Expenses). These settings control the Red/Green signals:
- Bad Offer Below: Offers where your Net Hourly Wage is lower than this amount will show as RED (Reject).
- Great Offer Above: Offers where your Net Hourly Wage is higher than this amount will show as GREEN (Accept).
Interpreting Signals
Once you're online, Ridelytics analyzes every offer in real-time.
Smart Signals
- GREEN Great Offer: Highly profitable.
- AMBER Decent: Meets minimums.
- RED Bad Offer: Unprofitable.
Neutral Signal
A Neutral (Grey) signal appears in two cases:
- Processing Unknown: We couldn't fully read the offer details.
- Genuinely Losing Cash: The trip costs more in expenses than it pays (Negative Wage).
Badges & Rationale
Detailed insights appear directly on the offer overlay.
Smart Badges
Trip duration ≥ your threshold (default 25 mins).
MULTI-STOP 🎯 Target MetRed Signal Rationale
If an offer is Red, check the rationale log:
- Below Threshold: Wage is too low.
- Long Trip Override: Exceeds duration limit.
- Multi-stop Override: Multiple stops detected.
- Postal Code Override: Flagged destination area.